Building the Aircam, N3251E
Back to the Aircam Page-
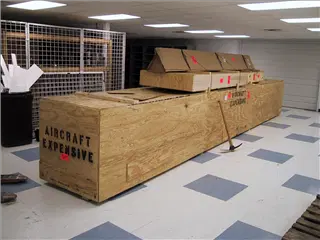 The Start
8/1/2000 -
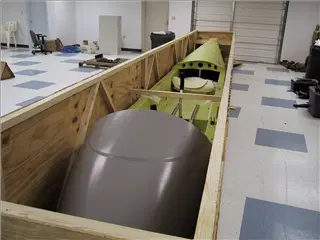 8/1/2000
 -
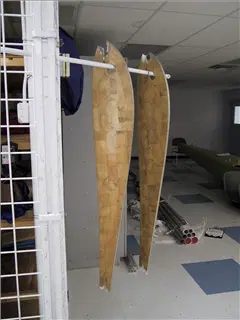 The fiberglass didn't set up. We had to get new resin and hardener and do it over. That was irritating for the first step.
8/9/2000 -
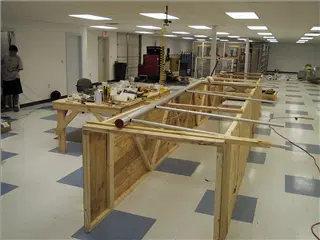 Wing frames, without the root rib.
8/10/2000 -
 8/10/2000
 -
 8/10/2000
 -
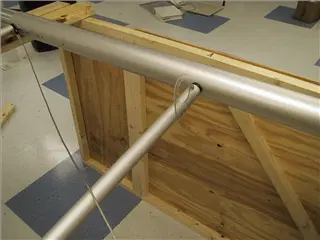
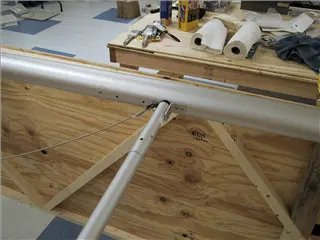
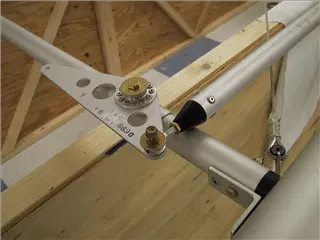
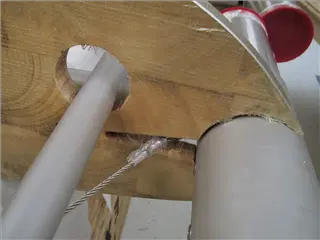 Wing Progress. The fiberglass set up on the balsa ribs and we could finish the wing frames.
8/12/2000 -
 8/12/2000
 -
 8/12/2000
 -
 8/12/2000
 -
 8/12/2000
 -
 8/24/2000
 -
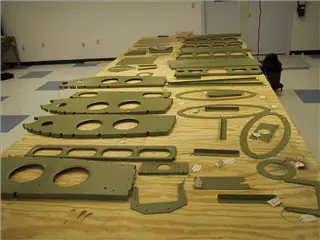
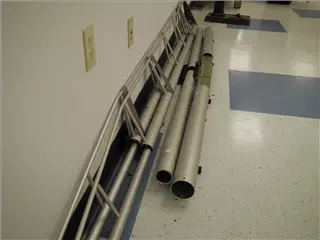 Aileron frames and center wing spars
8/24/2000 -
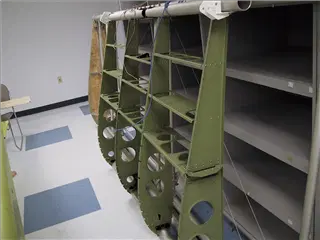 Center wing section primer. Those parts tags are a pain.
8/26/2000 -
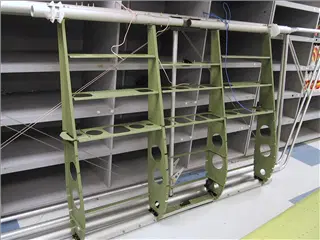 Center wing section.
8/26/2000 -
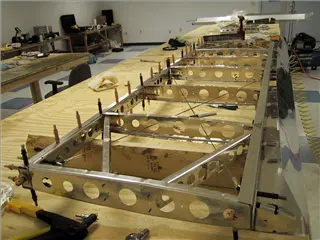 Horizontal stabilizer frame, before deburring and primer.
8/27/2000 -
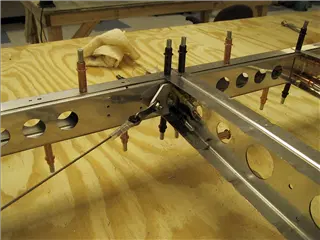 8/27/2000
 -
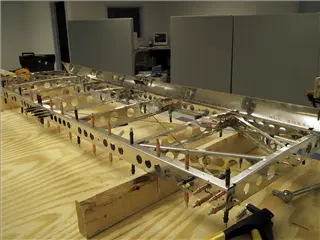 8/27/2000
 -
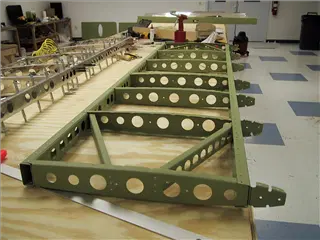 Horizontal stabilizer, after deburring, primering, and riveting. Those cables down on the far end are tight!
8/29/2000 -
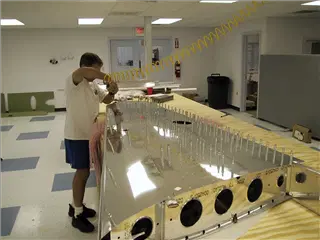 The vertical stabilizer had a few temporary rivets, and about 865,247,346 holes that had to be drilled, clecoed, drilled again, and deburred before it was painted. It's a real good idea to mark these parts before they're disassembled.
9/1/2000 -
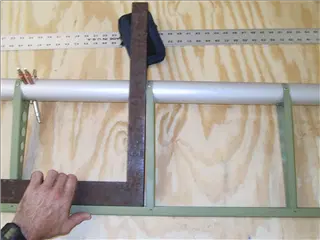 The elevator that someone who shall remain nameless (JAMES!) riveted crooked. 63 drilled rivets later, it was straight. The second picture has it fixed.
9/4/2000 -
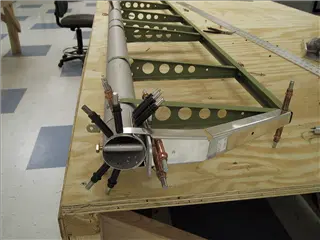 9/4/2000
 -
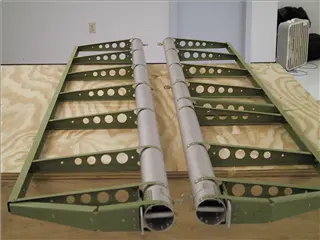 Elevator frames
9/5/2000 -
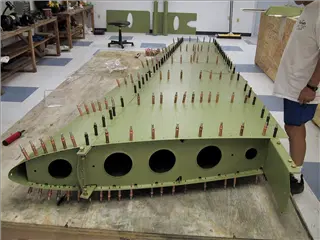 Vertical stabilizer progress
9/7/2000 -
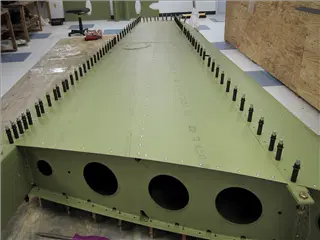 More progress
9/8/2000 -
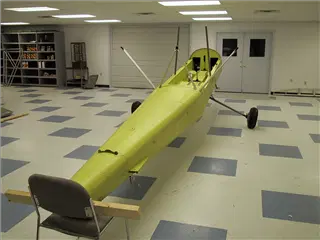 Starting on adding the center wing section to the fuselage.
9/9/2000 -
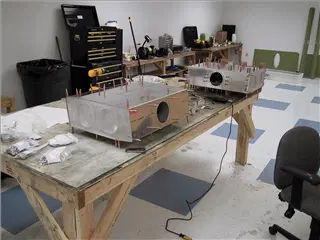 Fuel tanks start
9/9/2000 -
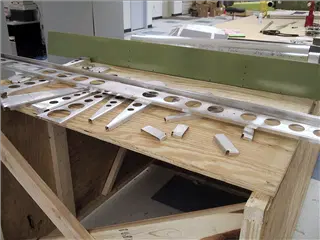 Rudder parts cleaning
9/9/2000 -
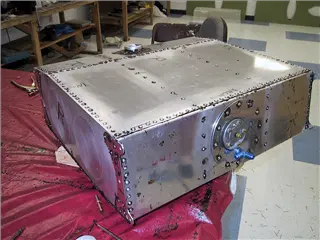 The fuel tanks are a real pain to build. PRC is very messy, too. It took a few extra packages of it for us, because we're sloppy and make mistakes. Later we tested the tanks with air and with a with gasoline. We had to patch a couple of holes. Since it takes 2 weeks to cure before each test, we were afraid the fuel tank construction would run into the year 2009. Later, after a successful no-leak air test, we filled them with gasoline and let them stand for a few days. No leaks! [We let it cure and then tested it again. There were small leaks in some corners that we fixed from the outside.]
9/13/2000 -
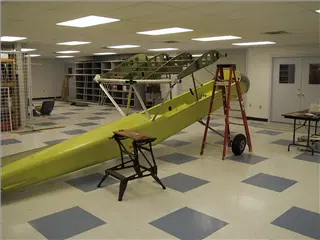 Center section on the fuselage. The vertical poles above the landing gear have some holes that are really hard to get bolts and nuts on and off of, if you put the poles in upside down.
9/15/2000 -
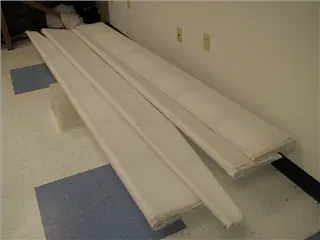 Covered flaps and ailerons. I had to do one of these twice because I didn't put tape underneath the fabric.
9/15/2000 -
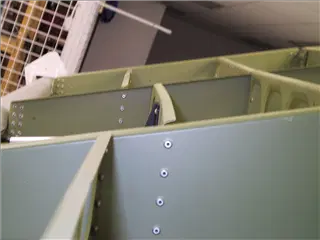
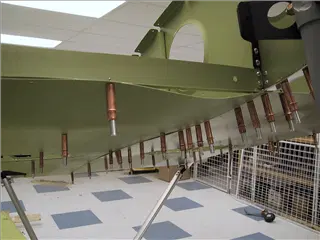 Center section skin. We had two problems with this. First, the skin didn't fit. We had to redrill some holes to get rid of the wrinkles. Second, the two rods in the third picture were the wrong size. We had to get new ones and cut them off before we drilled the rivet holes.
9/18/2000 -
 9/18/2000
 -
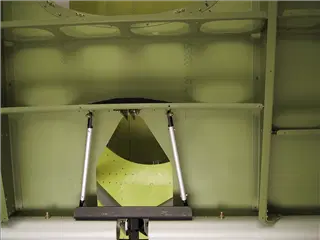 Second, the two rods in the third picture were the wrong size. We had to get new ones and cut them off before we drilled the rivet holes.
9/18/2000 -
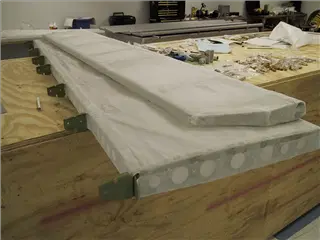 Horizontal stabilizer, elevator, and rudder are ready to shrink.
9/29/2000 -
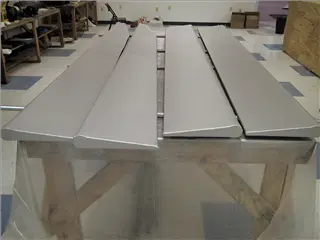 The flaps and ailerons have Polybrush UV coat. There are some newer systems out now that might be easier than Polyfiber.
9/29/2000 -
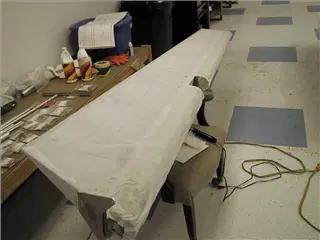 9/29/2000
 -
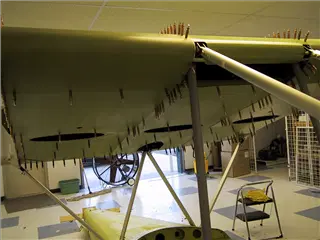 Center wing section
9/29/2000 -
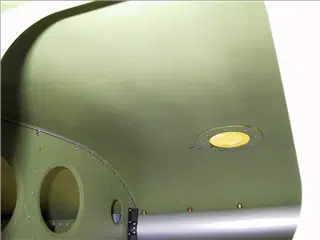 9/29/2000
 -
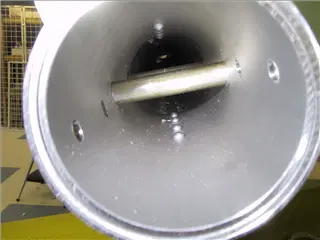 Center wing spar
9/29/2000 -
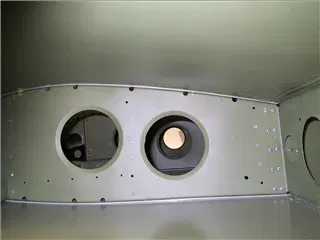 Center wing section where the fuel tank goes.
9/29/2000 -
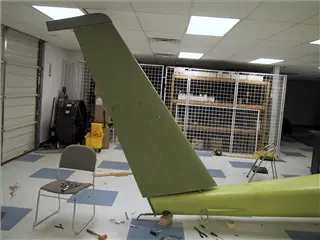 It was really hard to get to the bolts and nuts at the bottom of the vertical stabilizer, especially when you drop them. (You can tell by all the tools on the floor.) The cap on the vertical stabilizer was kind of hard to get on straight.
10/1/2000 -
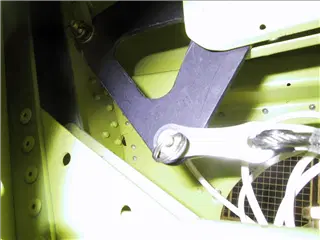 Here's the bottom of the elevator linkage. It was installed in the vertical stabilizer before it was put up.
10/1/2000 -
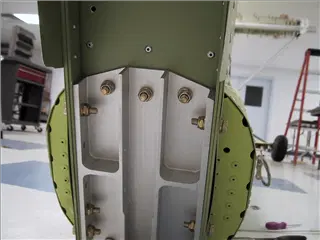 UV protected vertical stabilizers and elevators.
10/1/2000 -
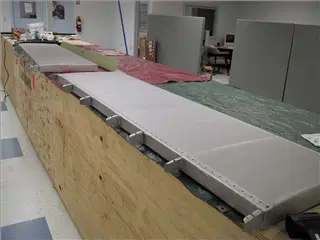 UV protected vertical stabilizers and elevators.
11/4/2000 -
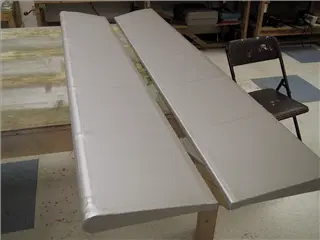 Elevators.
11/4/2000 -
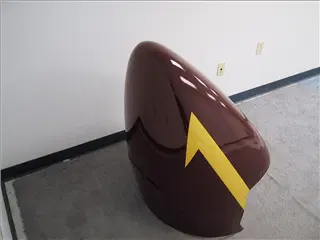
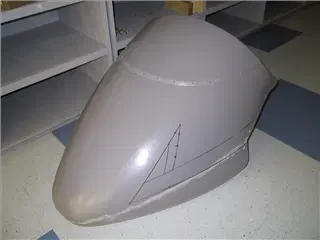 Nose design
11/4/2000 -
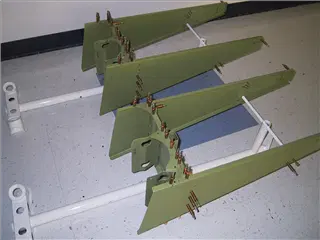 Engine mount assemblies
11/4/2000 -
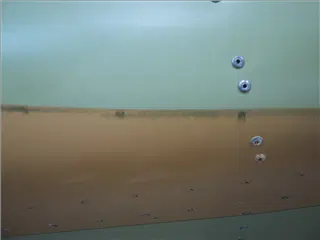 After my extensive work marking the stripes on the fuselage with a Sharpie, James and Mike starting whining and complaining just because it made the paint run. We had to sand it off.
11/4/2000 -
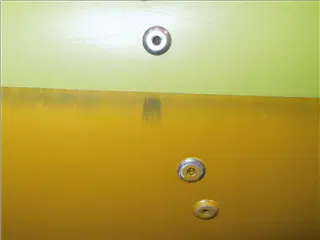 Excellent mask work by me.
11/4/2000 -
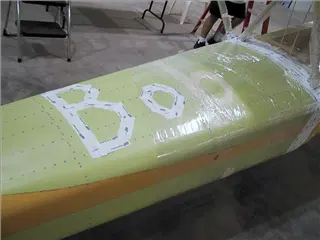 Excellent mask work by me.
11/4/2000 -
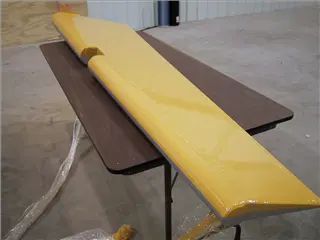 Despite my assistance, some of the plane did get painted.
11/4/2000 -
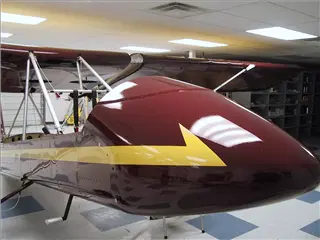
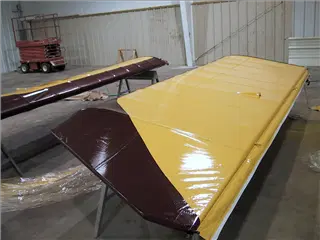 The maroon paint coat.
11/4/2000 -
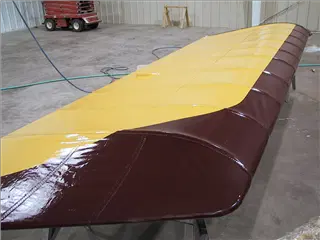 11/4/2000
 -
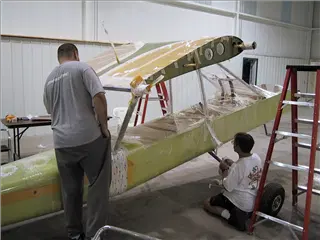 11/4/2000
 -
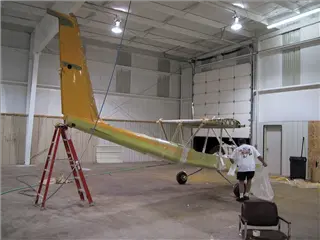 11/4/2000
 -
 11/9/2000
 -
 11/9/2000
 -
 11/21/2000
 -
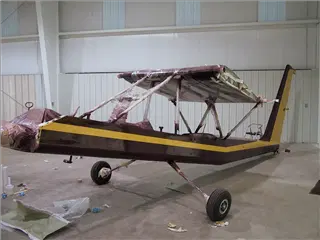
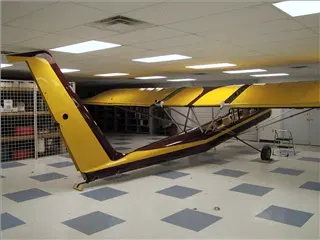 Paint is done, and Traci put the wings on (temporarily).
11/21/2000 -
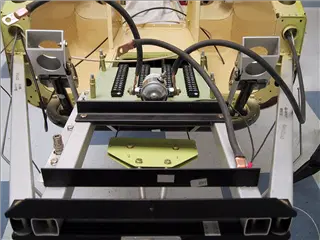 This is the wiring block and master solenoid, before many wires.
12/15/2000 -
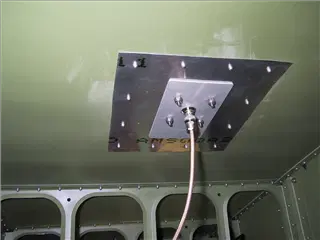 The GPS antenna is at the top of the center section.
12/15/2000 -
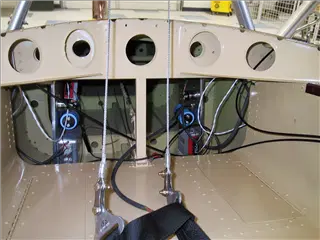 Wiring start. We built brackets to put the strobes, regulator, capacitor, and starter solenoids on. [12-12-01, the right regulator had a meltdown where the wires go in, probably due to bad crimping. ]
12/15/2000 -
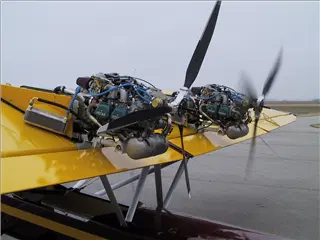
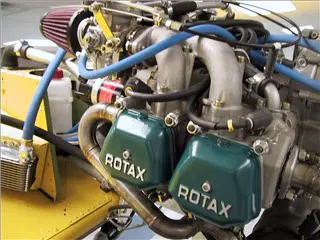 Engines are installed.
12/15/2000 -
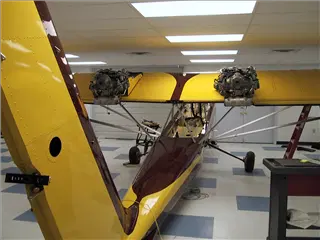 12/15/2000
 -
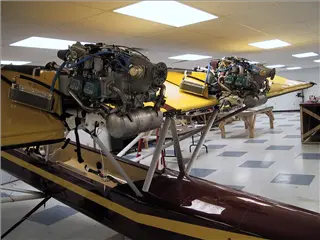 Engines are installed.
12/15/2000 -
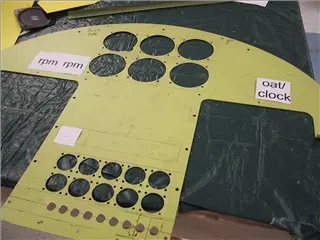 Panel Layout
1/7/2001 -
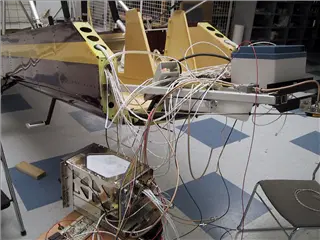 Avionics Testing
1/7/2001 -
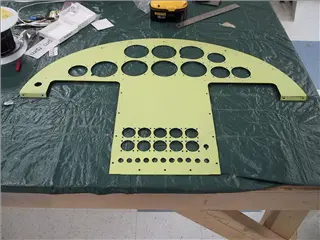 1/7/2001
 -
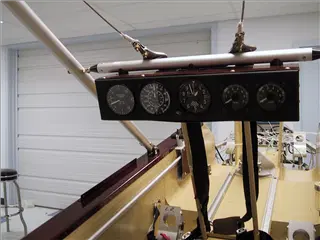 Rear instruments. These came without directions and without a diagram. But they work! We used a standard static port on the fuselage side because we couldn't get a part from AirCam for the one that comes with the kit. [The static port on the side caused bad airspeed, but we got the part from Leza and it works OK on the bottom. The rear airspeed is 10 mph low, maybe from an air leak between the front and rear.]
1/7/2001 -
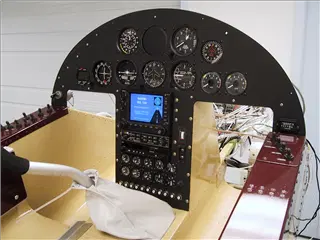 Completed panel.
1/13/2001 -
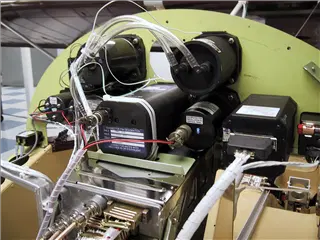
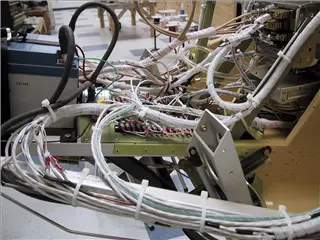
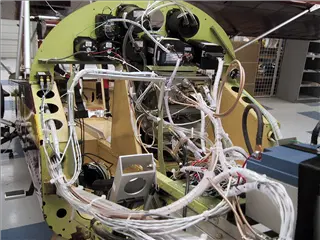
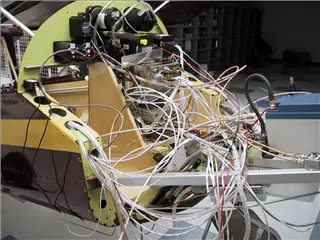 And a mess of wires. We used Tefzel instead of the wire that came with the kit.
1/13/2001 -
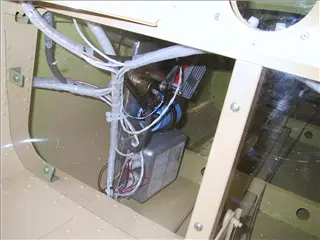 Wiring is finished and secured.
1/31/2001 -
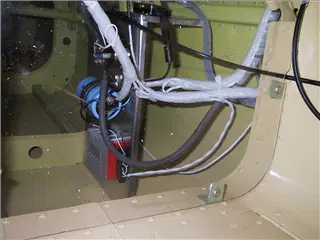 Seats in, windshield on, and details finished up.
1/31/2001 -
 1/31/2001
 -
 1/31/2001
 -
 1/31/2001
 -
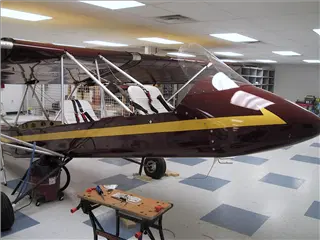 Seats in, windshield on, and details finished up.
1/31/2001 -
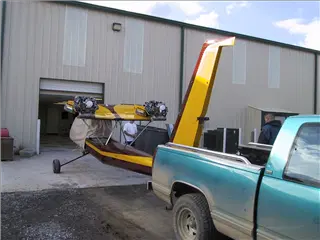 Headed for the airport.
2/1/2001 -
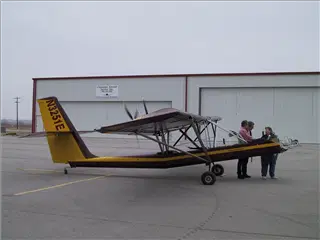 Final assembly complete. Propellers installed, torqued, and safety wired. Wings, horizontal stabilizers, and control surfaces installed and rigged. Here is the initial engine run.
2/7/2001 -
 That funny "ping" I heard was the first time I hit the oil filler cap.
2/7/2001